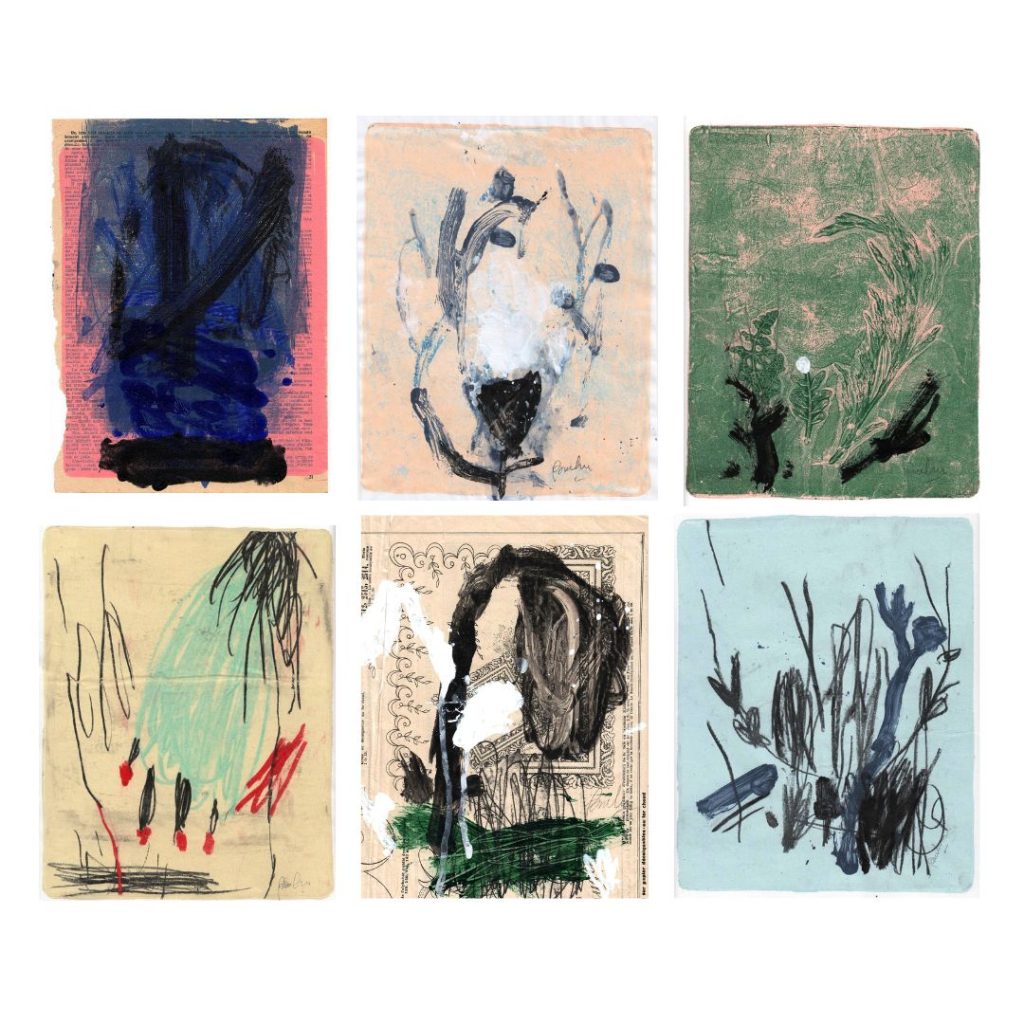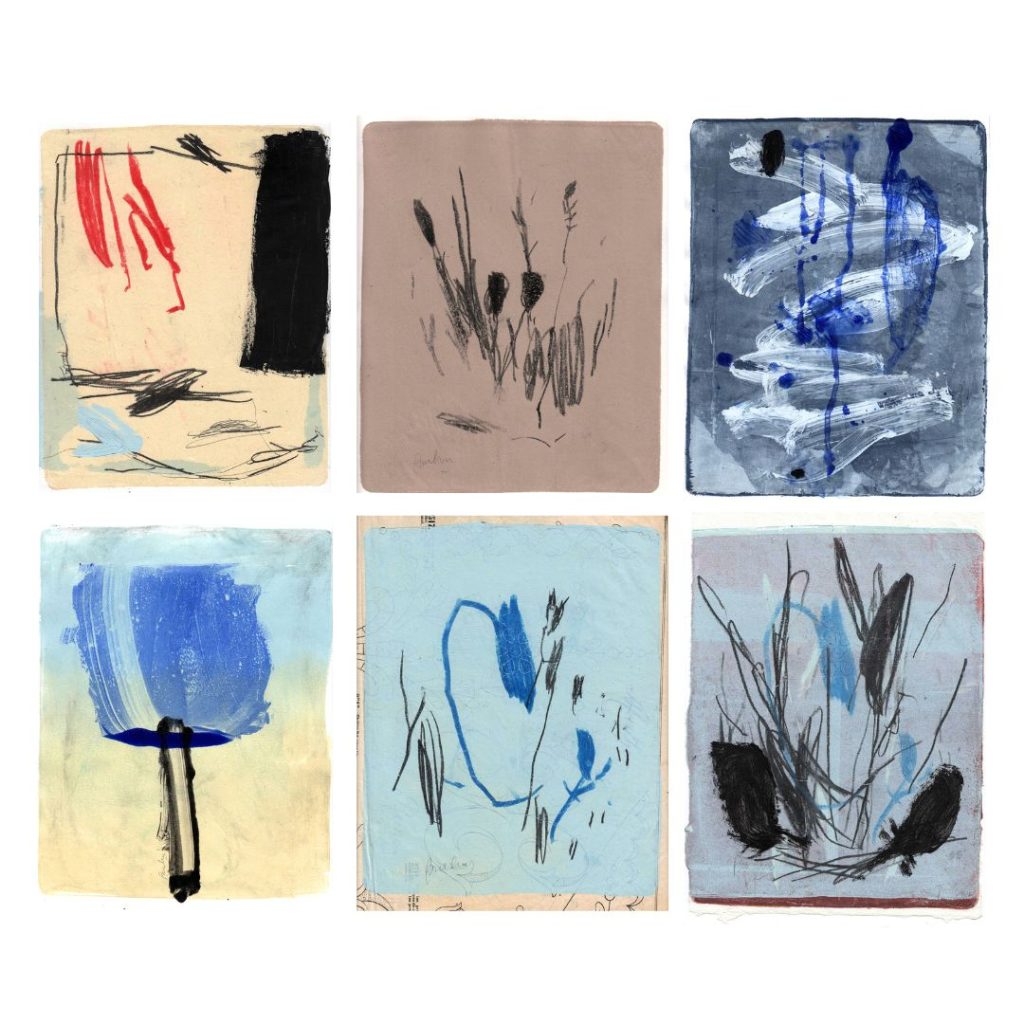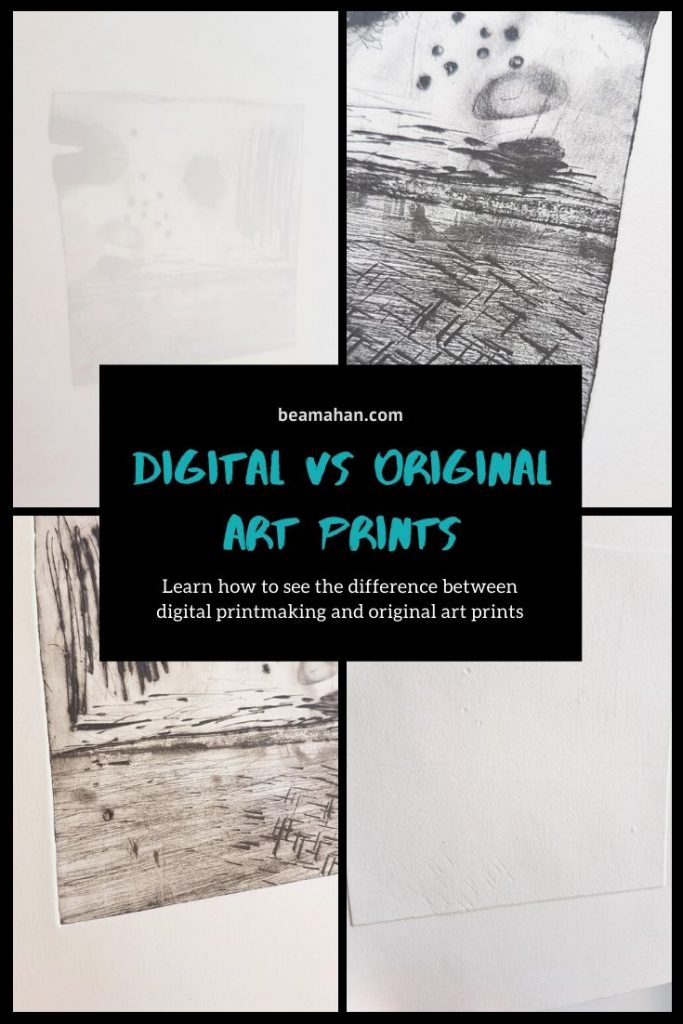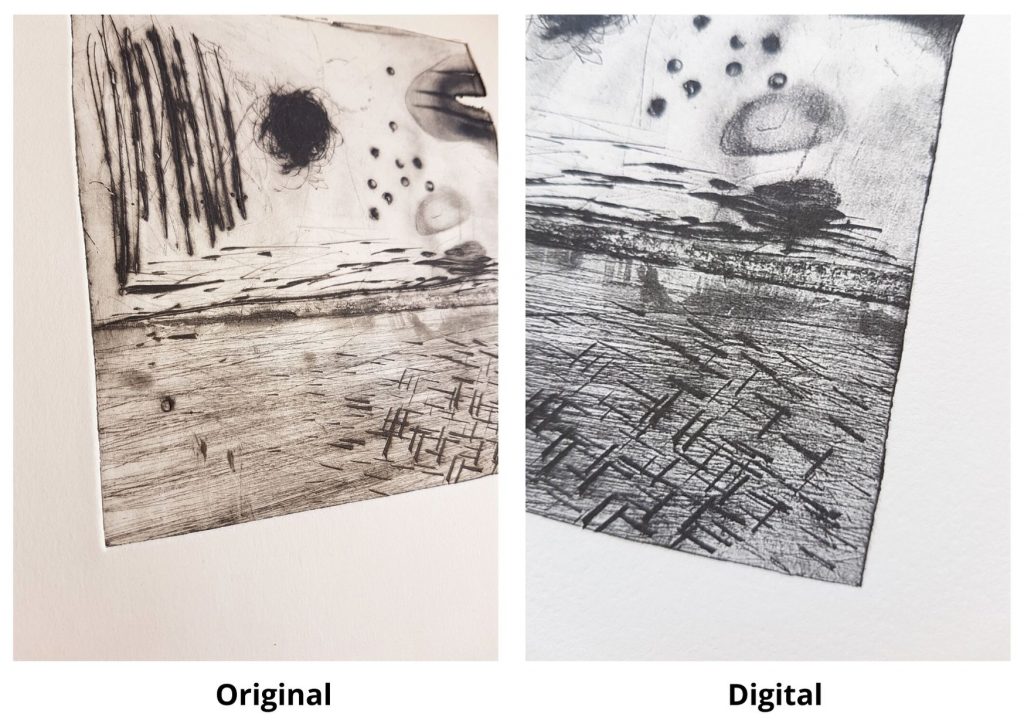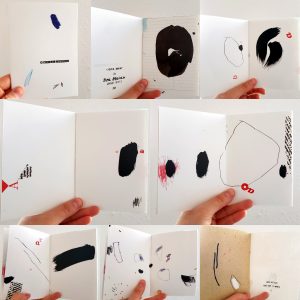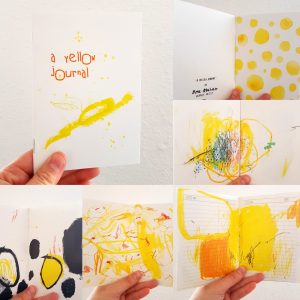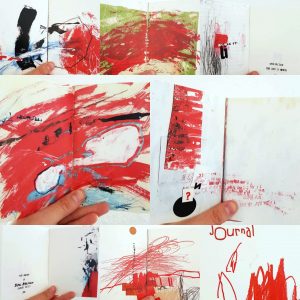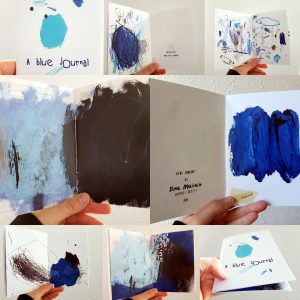
To understand this process we need to know first what an original print is and how it is made.
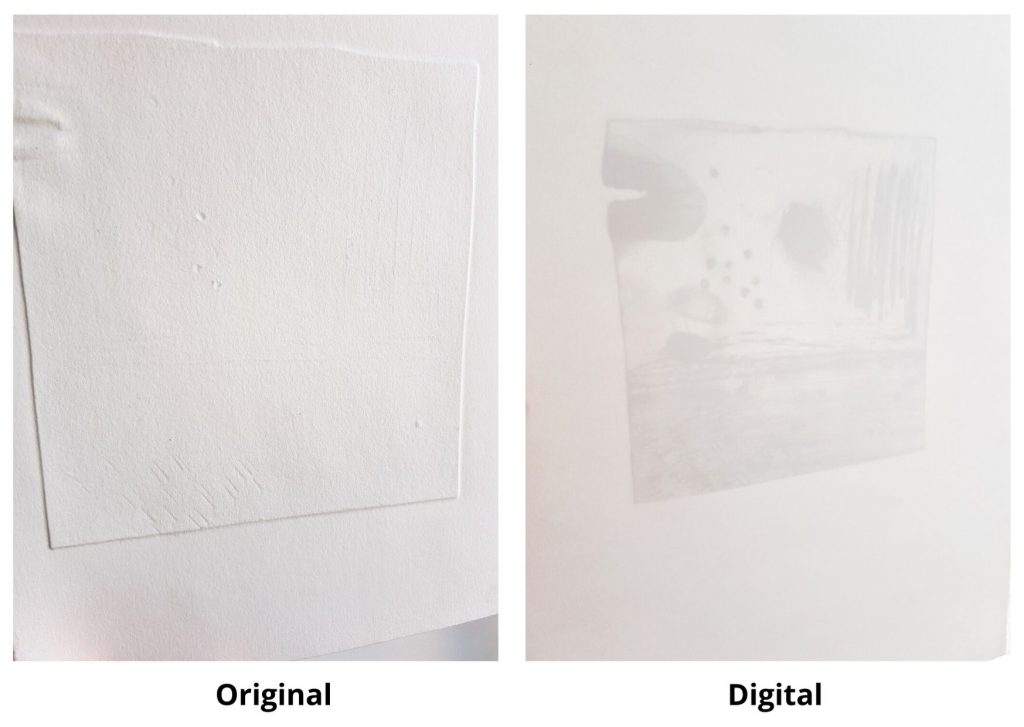
A print is a work of graphic art which has been conceived by the artist to be realized as an original work of art. Prints are produced by drawing or carving an image onto a hard surface (known as a matrix) such as a wood block, metal plate, or stone. This surface is then inked and the image is transferred to paper or another material by the application of pressure, thus creating an impression, or print. The printed image that results is the exact reverse of the image on the plate.
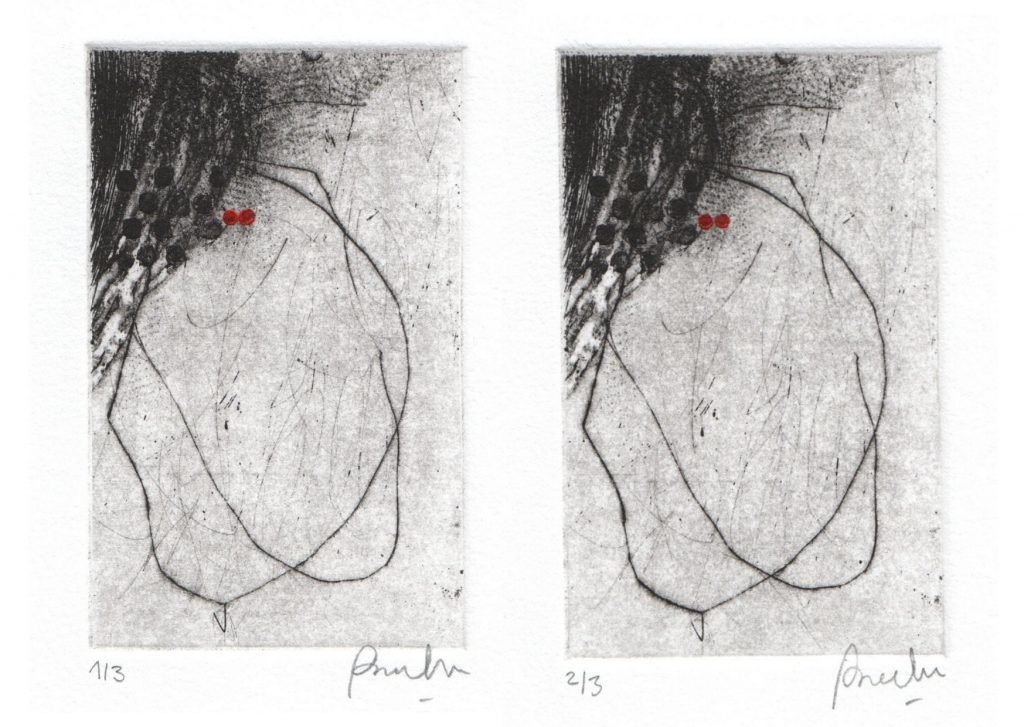
Unlike paintings or drawings, prints usually exist in multiple impressions, each of which has been created from the same inked plate. The set of identical impressions (prints) made from an individual matrix created by the artist, either working alone or in conjunction with a master printer are called an edition. The process of printing the edition is therefore just as important to the authenticity of a print as the act of inscribing the image onto the plate.
This long process makes me think of printmaking as alchemy: a long experimental process where all the elements and materials have to fit together on a perfect moment in order to transmute into something powerful and precious.
Metals and card boards become matrices, those receive ink that become stamps and fibers become a sheet of paper, paper scraps arranged together to create something new. This is a marvelous and incredible transmutation which is the guide of all my work.
I feel myself fascinated by the sudden effects that I found through this process. There are many accidents generated that I can incorporate to the pieces of art. The mystery of not knowing exactly the result I am going to obtain makes me feel completely caught, since it seems to me that materials are alive.
Prints fall into categories depending on their method of production, which can be several: etching, dry point, linocut, lithography, dry point, collagraph, screen print, etc. Within each category, there are a lot of techniques to achieve different effects.
I do mostly etchings on copper plates (I have a large collection listed on my etsy shop). Here is a brief description of that process:
Preparing the plates
Cut the plate to desire size · Bevel the edges · If it is unpolished, you have to polish the surface · Degrease it.

Varnish and biting a plate
Protect the back of the plate · Ground the plate with the desire technique (wax ground, white ground, rosin, etc.) · Prepare the acids · Etch the plate


Preparing the inks
Prepare the colors if needed · Depending on the color or type of ink, you need to adjust its viscosity

Proofs of state
Start printing! · We need to check if we are satisfied with the etched lines and tones (if not, we have to do it all over again!) · The amount of ink and colors · The pressure of the press · Size and type of paper

Preparing the paper
Cutting the paper by hand · Dampen it and take out the excess of water

Inking
Preparing the hot plate · Soften the tarlatan to wipe the ink on the plate


Printing
Preparing the registration for placing the plates on the press and print!


Drying and pressing
Left to dry · Place the prints between blotting paper and under pressure

Thank you for your interest in this technique I adore! You can find the finished pieces here in this section and in my etsy shop. You can also find more information, descriptions and glossary terms on these websites: magical secrets, ifpda, smidgeon press.
